DIY insulation is a manageable weekend project for most Toronto homeowners using polystyrene foam boards, reflective foil kits, or fiberglass batts. Measure each panel carefully, cut to fit, install with adhesive or press-fit, and seal all edges. Always balance your door after adding insulation weight, and call garage door service in Toronto specialists at Legacy Garage Doors if the opener or springs struggle after your DIY insulation project is complete.
Why DIY Insulation Is Worth the Weekend
Is your garage freezing in winter and sweltering in summer? A poorly insulated garage door is one of the biggest sources of energy waste and discomfort in any Toronto home. DIY insulation is a high-value project whether you have a detached workshop or an attached garage connected directly to your living space. At Legacy Garage Doors, we support Toronto and GTA homeowners through every option, from DIY insulation kits to full professional upgrades and garage door repair Toronto service for anything that needs attention before insulation goes in.
Why Insulate Your Garage Door?
The benefits of DIY insulation for garage doors in Toronto are substantial. Insulation limits heat loss in winter and heat gain in summer, creating a more consistent and comfortable environment. It protects stored tools, vehicles, and items from extreme temperature fluctuations and adds value by improving energy performance. For attached garages, DIY insulation is one of the highest-return home improvement projects available in the GTA. According to Natural Resources Canada, upgrading insulation at key thermal boundaries, including garage doors connected to heated living spaces, is among the most effective steps Canadian homeowners can take to reduce annual energy costs.
Materials You Will Need for DIY Insulation
Before starting your DIY insulation project, gather: a tape measure, utility knife, straightedge, work gloves and safety glasses, your chosen insulation panels (polystyrene foam board, fiberglass batts with vapor barrier, or a reflective foil kit), double-sided tape or garage door-specific adhesive, metal foil tape for sealing seams, and mild soap and cloth for surface cleaning. Pre-cut DIY insulation kit products designed for standard door panel dimensions are available at most home improvement retailers and simplify the cutting process significantly. Visit our residential garage doors page for compatible door and panel specifications.
Step 1: Choose Your DIY Insulation Material
Polystyrene foam boards deliver a good R-value and are rigid and easy to cut. Reflective foil insulation is lightweight and especially effective as a supplementary layer when combined with foam board. Fiberglass batts offer high insulation value but must be enclosed with a vapor barrier to prevent moisture problems in Toronto’s humid climate. For attached garages requiring the highest thermal performance, polyurethane foam offers the best results but is typically a professional-grade application rather than a DIY insulation option. Our insulation and maintenance blog covers each material in detail to help you match the right product to your specific setup.
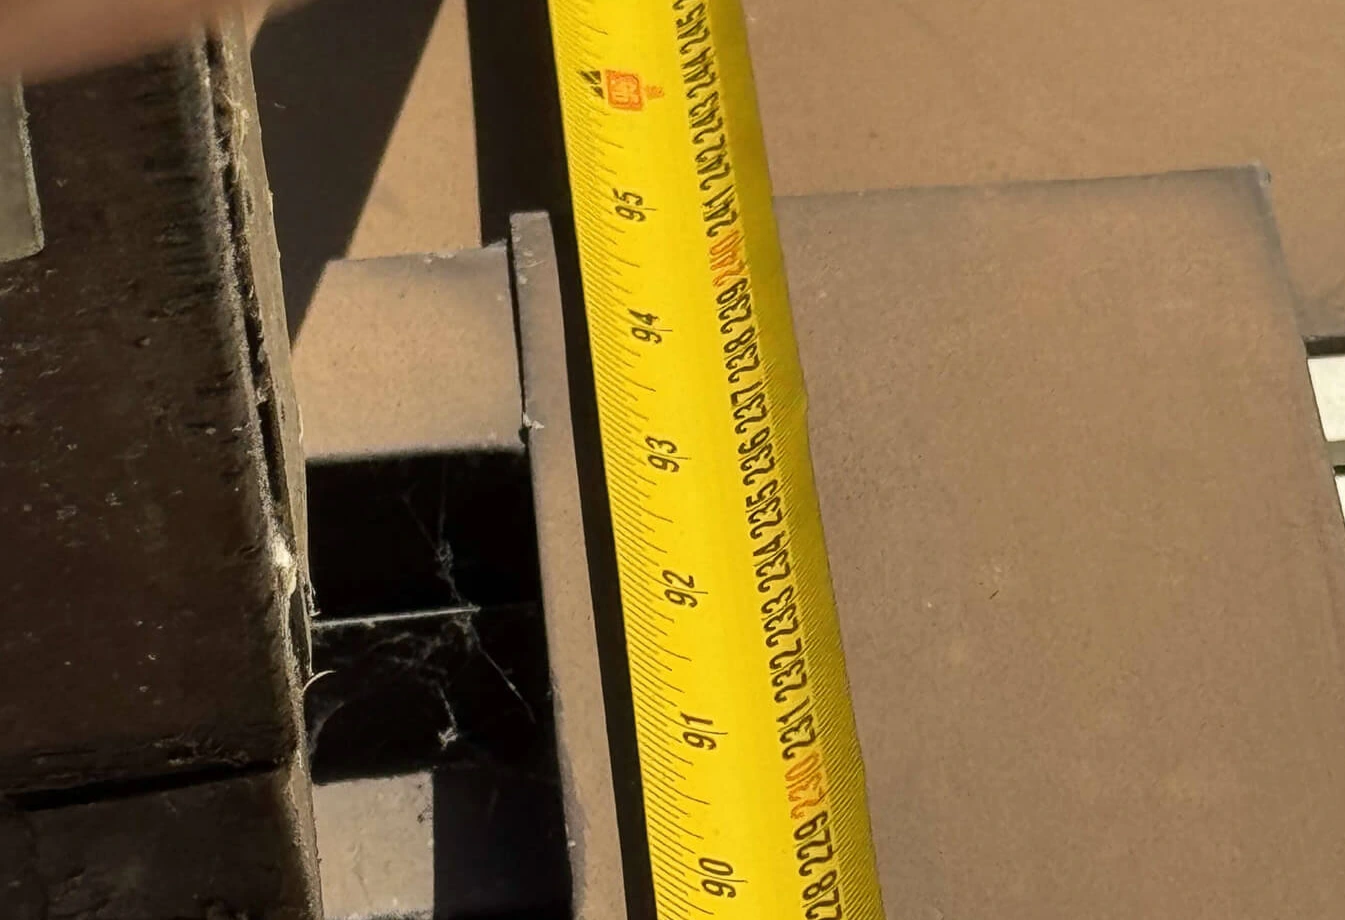
Step 2: Measure the Panels
Measure the width and height of each individual panel section on your garage door. Even on the same door, panels are not always identical in size. Measure each one separately and record the dimensions before cutting. Most sectional garage doors have three to five horizontal panels that each require their own DIY insulation insert.
Step 3: Clean the Door Surface
Clean the interior surface of each panel section with mild soap and water to confirm that tape or adhesive will bond properly. Allow the surface to dry completely before applying any DIY insulation material. This step is often skipped but is critical to preventing panels from loosening over time.
Step 4: Cut DIY Insulation Panels to Size
Mark your foam or fiberglass panels using your recorded measurements, then cut with a sharp utility knife and straightedge. Score and snap foam board for a clean edge. Slightly undersizing panels by a few millimetres is better than cutting them too large, as a tight fit can distort the panel or interfere with door hardware.
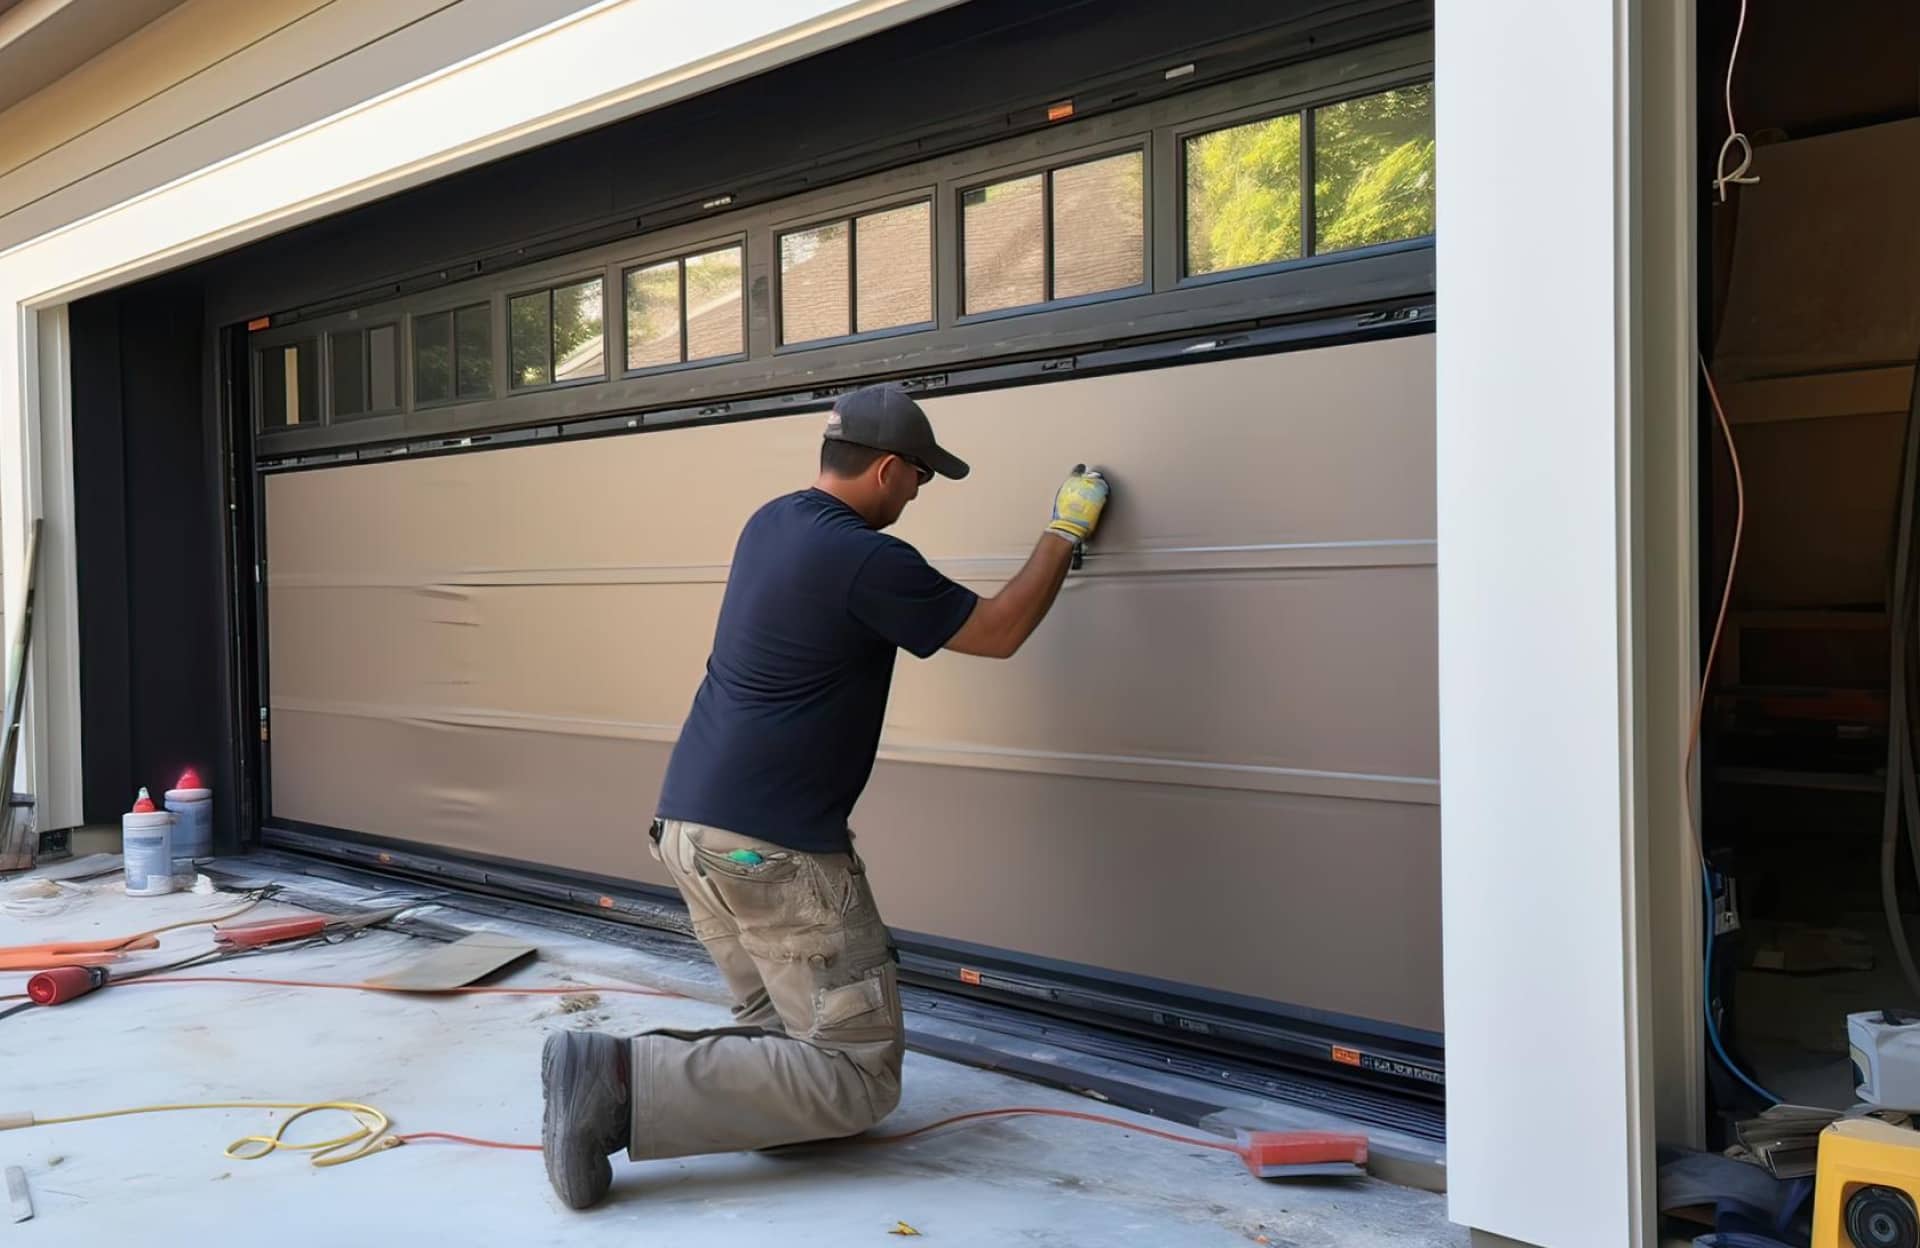
Step 5: Install the DIY Insulation Panels
For press-fit foam board kits, flex the panel slightly to pop it into the recessed area of each door section. For foil or fiberglass products, apply adhesive tape at each corner per the product instructions. If your DIY insulation material includes a vapor barrier, orient it to face the inside of the garage rather than toward the door exterior. Avoid compressing the insulation more than necessary.
Step 6: Seal the Edges and Test the Door
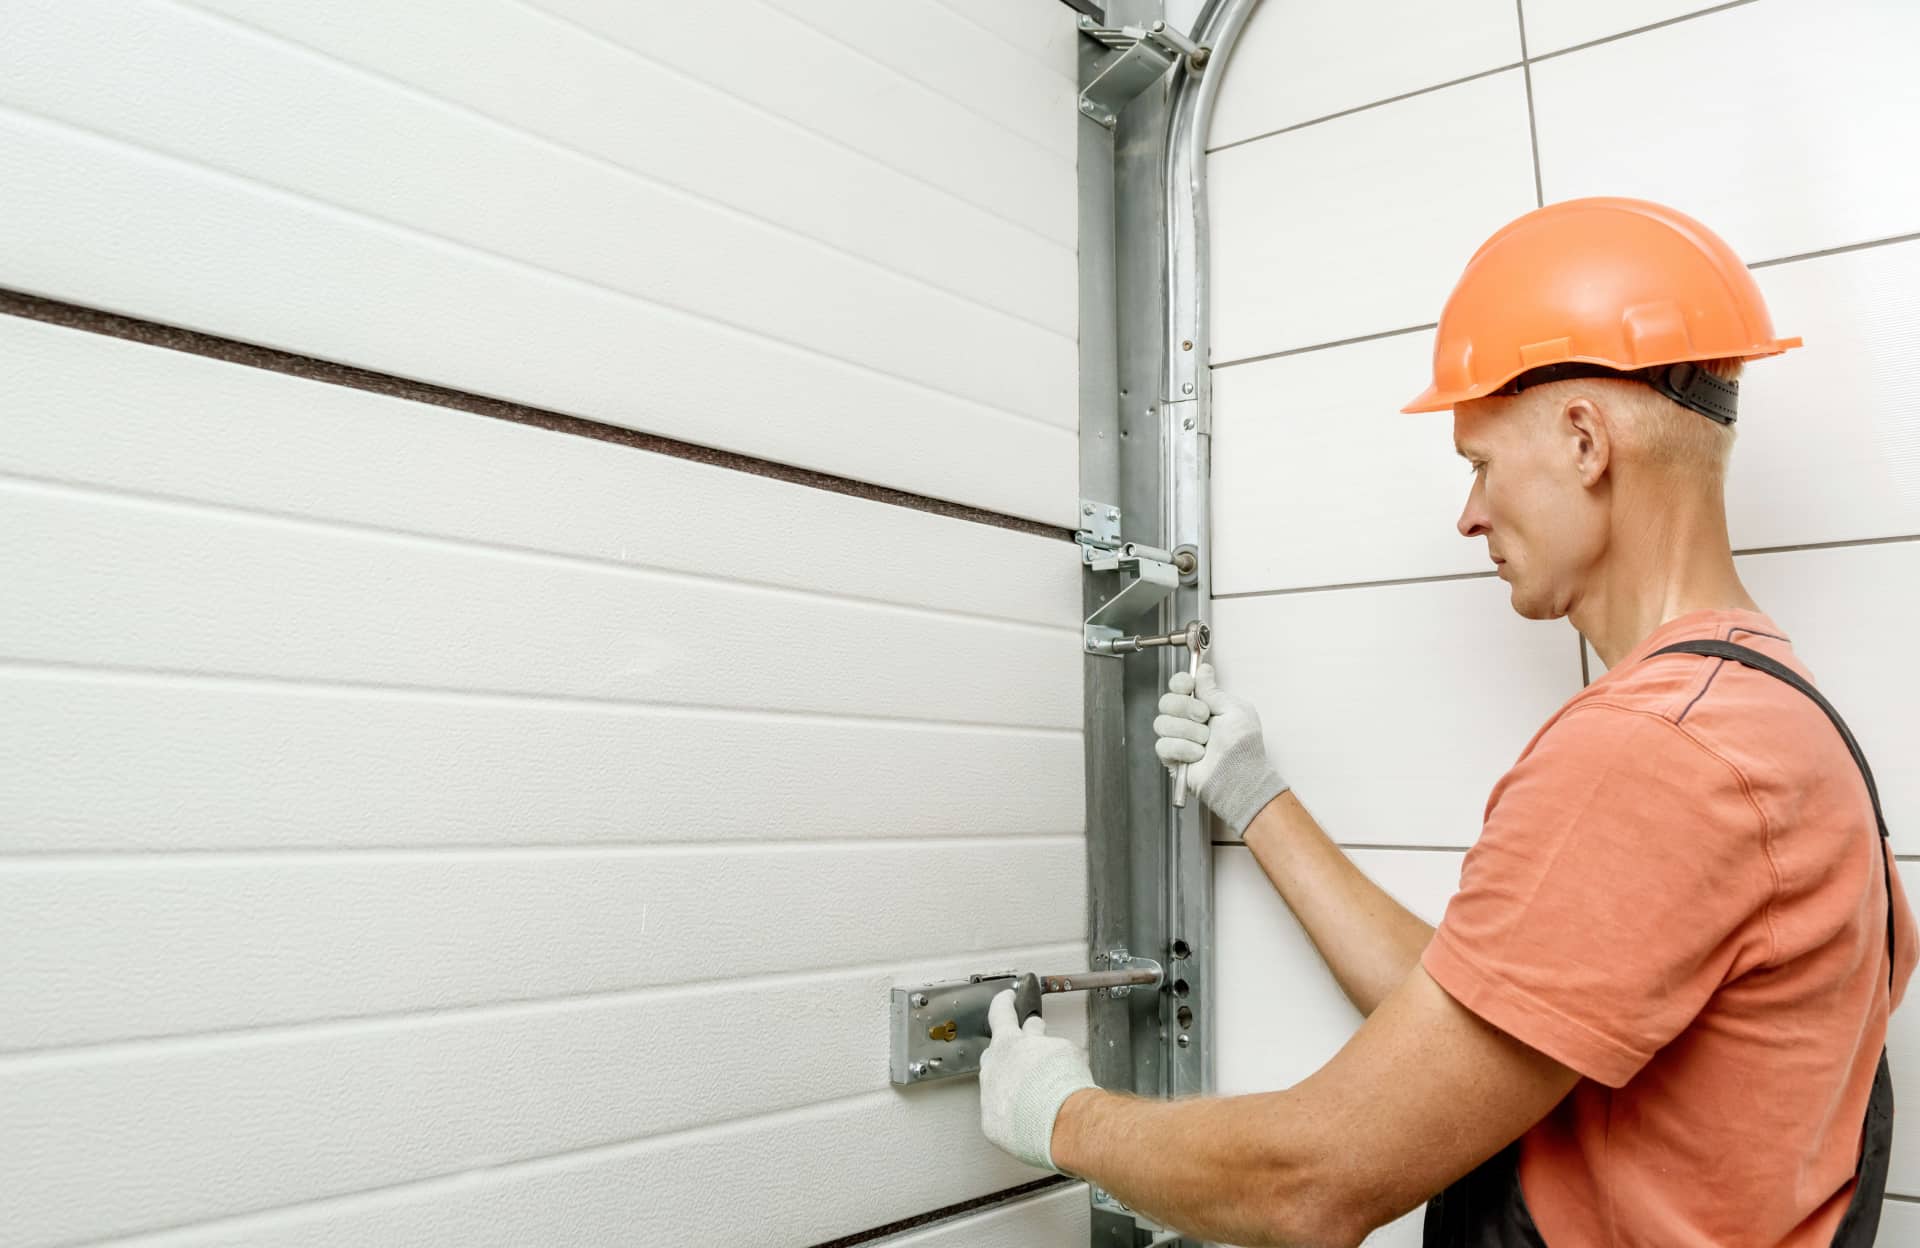
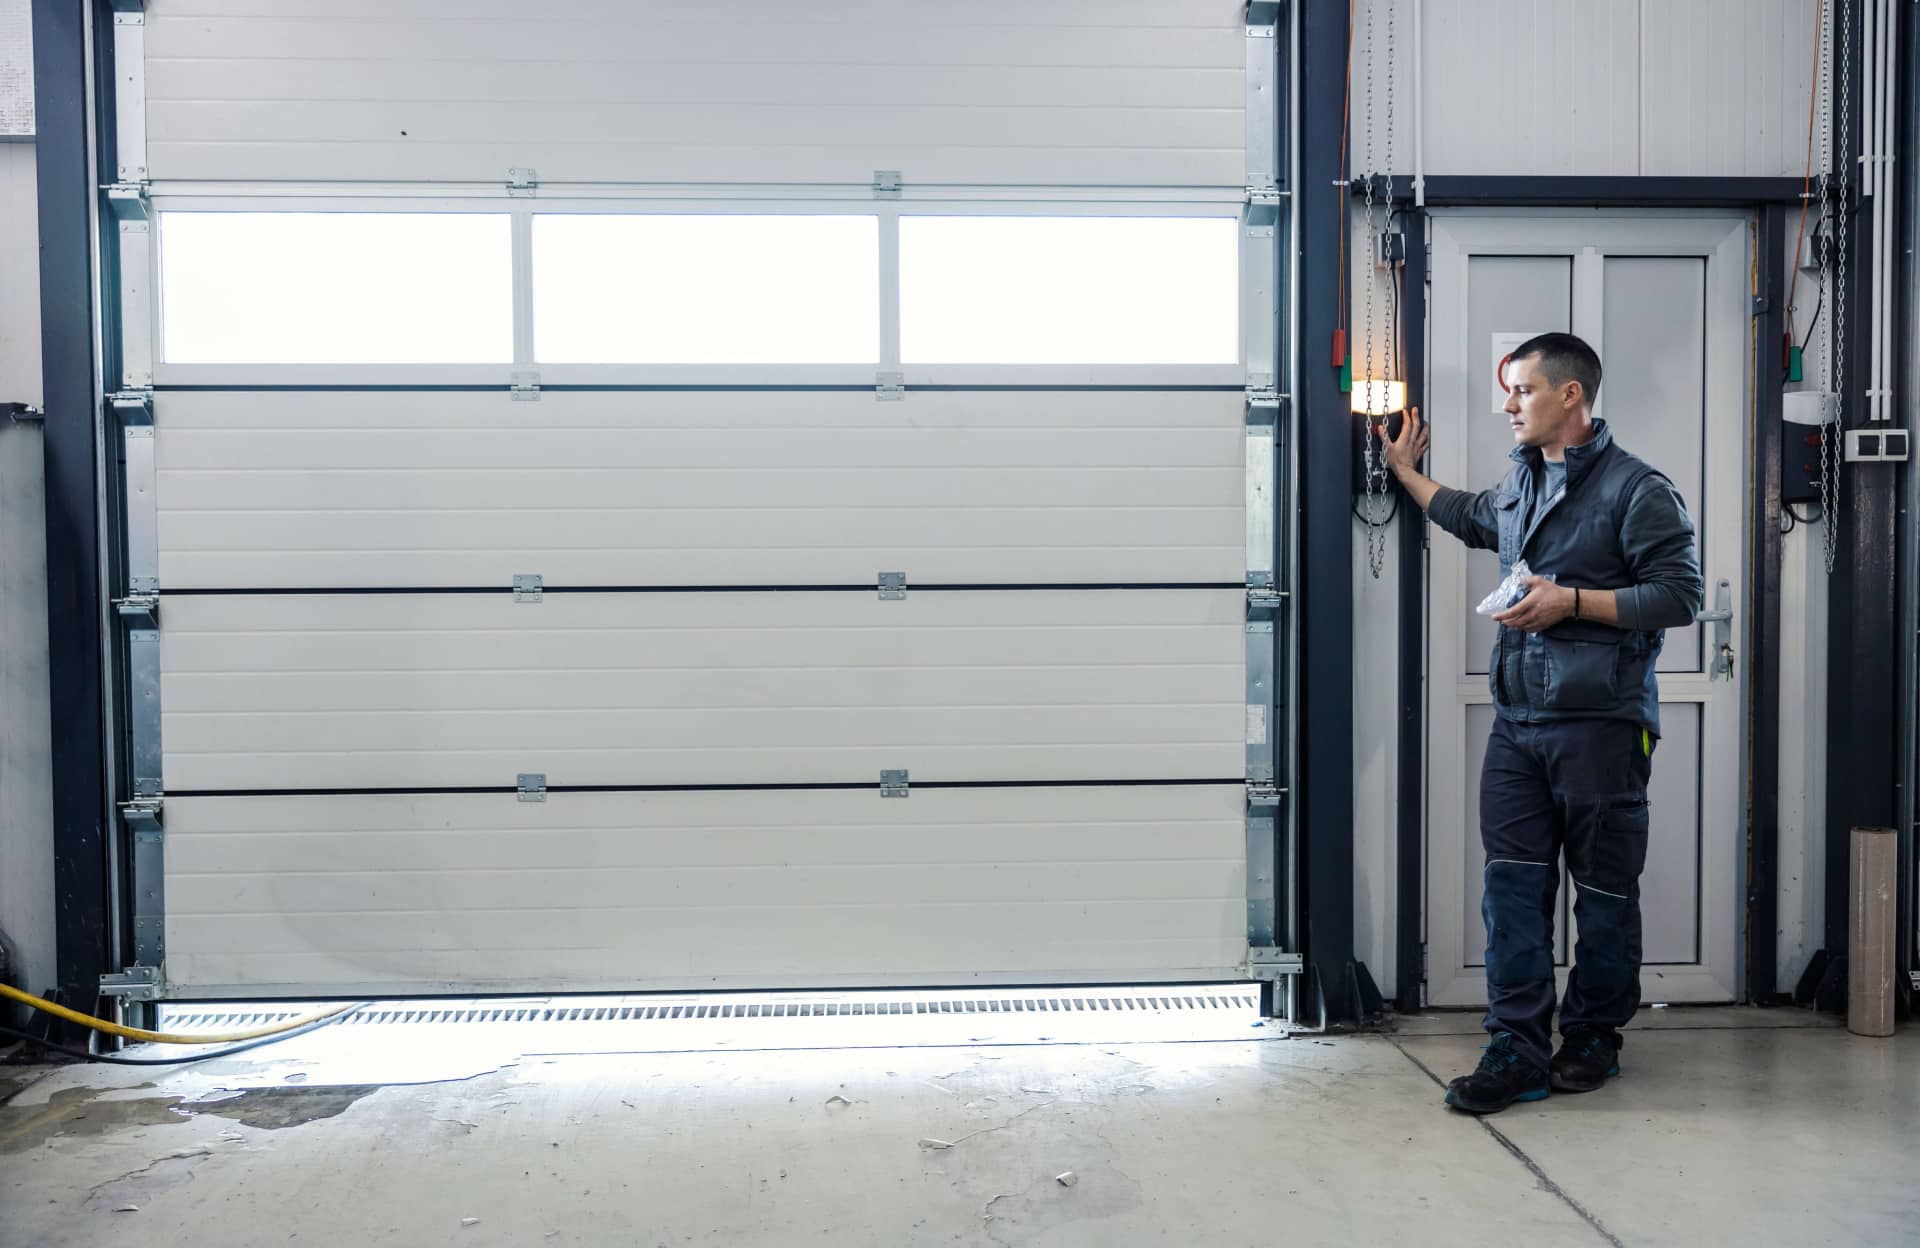
Run foil tape over all seams for a tight, clean finish. Double-check that no DIY insulation material is interfering with moving parts, rollers, springs, or hardware. Close the door fully and confirm it seats evenly and nothing catches or drags. The added weight of DIY insulation can affect spring tension and balance. If the door becomes difficult to lift manually or does not stay open, contact Legacy Garage Doors for a spring tension adjustment or garage door repair Toronto safety inspection.
Pro Tips for Best DIY Insulation Results
Upgrade your weather stripping at the same time as your DIY insulation project. Replacing worn bottom, side, and top seals delivers a complete energy barrier and maximizes your investment. Our maintenance and service blog covers weather stripping inspection as a standard item. The Canada Mortgage and Housing Corporation recommends combining door DIY insulation with proper air sealing at all perimeter gaps for maximum thermal efficiency in attached garages.
When to Call a Professional Instead of DIY
DIY insulation is a great option for many homeowners, but some situations call for professional service. If your opener visibly struggles after adding DIY insulation, if you discover broken springs, cables, or structural damage during the project, or if you need commercial-grade or custom-fitted insulation, call Legacy Garage Doors. We also provide emergency garage door service GTA-wide for any urgent balance, spring, or opener issues that arise during or after a DIY insulation project.
One Trusted Team for DIY Insulation Support and Repairs
Whether you take on a DIY insulation project yourself or need professional installation, Legacy Garage Doors is your local resource for expert advice and trusted garage door repair Toronto service. From inspecting your door before insulation to adjusting springs and balancing after the project, our certified team supports every step. Contact us today for a free estimate or to book your next service appointment.
Frequently Asked Questions
1. Will DIY insulation void my garage door warranty?
It depends on the manufacturer. Some warranties include provisions about modifications to the door panel system. Check your warranty documentation or contact Legacy Garage Doors before proceeding, especially for newer doors still under the original warranty period.
2. What is the best DIY insulation material for a Toronto garage in winter?
Polystyrene foam board kits are the most popular choice for DIY insulation projects because they are rigid, easy to cut, moisture-resistant, and deliver consistent R-value performance through Toronto’s freeze-thaw cycles. Reflective foil is a good supplementary layer for added performance.
3. Can I use a standard DIY insulation kit for any garage door size?
Standard DIY insulation kit products are designed for common sectional door panel sizes. Measure your panels first. If your door is non-standard, purchase sheet insulation and cut it to fit rather than using a pre-cut kit.
4. Is DIY insulation worth it for a detached garage in Toronto?
Absolutely, especially if the space is used as a workshop, gym, home office, or for temperature-sensitive storage. DIY insulation makes the space more comfortable, protects your belongings, and can save on heating costs during winter months. Visit our about us page to learn more about how we support Toronto homeowners with practical upgrades.
5. How long does DIY insulation last on a garage door?
Most properly installed DIY insulation solutions last five to ten years before needing replacement. Annual inspection as part of a professional garage door repair Toronto maintenance visit will identify any panels that have loosened, compressed, or developed moisture issues before they reduce effectiveness.
Upgrade Your Garage: DIY or Professional, We Have You Covered
DIY insulation is one of the smartest energy investments a Toronto homeowner can make. Whether you prefer the hands-on approach or want Legacy Garage Doors to handle the entire project, we are here with honest advice, quality materials, and reliable service across the GTA. Call 437-229-8717 today or reach out for a free estimate.
Key Takeaways
- DIY insulation projects are manageable for most Toronto homeowners using polystyrene foam boards or reflective foil kits.
- Measure each panel individually before cutting, as panel sizes vary even within the same door.
- Always clean and dry the door surface before applying any DIY insulation material.
- The added weight of DIY insulation can affect door balance and spring tension, requiring a professional adjustment after installation.
- Pairing DIY insulation with weatherstripping replacement delivers the most complete energy barrier for GTA garages.
- Call Legacy Garage Doors for professional assistance when the opener, springs, or structural issues exceed DIY insulation scope.