
Putting in a garage door involves preparing the opening, assembling panels, mounting tracks, and setting spring tension, with the spring tensioning step carrying the highest safety risk and the clearest reason to consider professional installation.
What Does Installing a Garage Door Involve?
Installing a garage door involves several distinct stages: preparing the opening, assembling and hanging the panels, mounting the tracks and rollers, setting spring tension, and connecting an opener if one is included. Each stage depends on the one before it, so a mistake early in the process, like an out-of-square opening, causes problems throughout the rest of the installation.
Legacy Garage Doors handles full residential and commercial installations across Toronto and the GTA. A standard single-car opening typically takes six to ten hours for an experienced two-person team, while a double-wide door or a garage requiring framing repairs takes longer.
How Do You Prepare the Opening Before Installation?
Preparing the opening starts with measuring the width and height accurately, since a door that does not match the opening size creates alignment problems for the rest of the project. The framing around the opening also needs to be level, square, and structurally sound, because warped or weak framing can cause the finished door to bind or operate unevenly.
If an old door is being replaced, it needs to come out first, including the opener, tracks, and springs. Homeowners replacing an older door should also consider whether a full door replacement with updated hardware and insulation makes more sense than a panel swap alone, since the cost difference often narrows when framing work is already involved.
How Are the Door Panels Assembled and Set in Place?
Panels are assembled from the bottom up, starting with the section that includes the bottom weather seal.
Step One: Lay the bottom panel exterior side down and attach the weather seal and bottom brackets before standing it upright in the opening.
Step Two: Stack each additional panel on top of the one below it, connecting them with hinges and inserting rollers into the roller brackets as each section goes up.
Step Three: Check that each panel sits level and plumb before moving to the next section, since a section installed out of alignment compounds the problem as more panels are added.
How Are the Tracks and Rollers Installed?
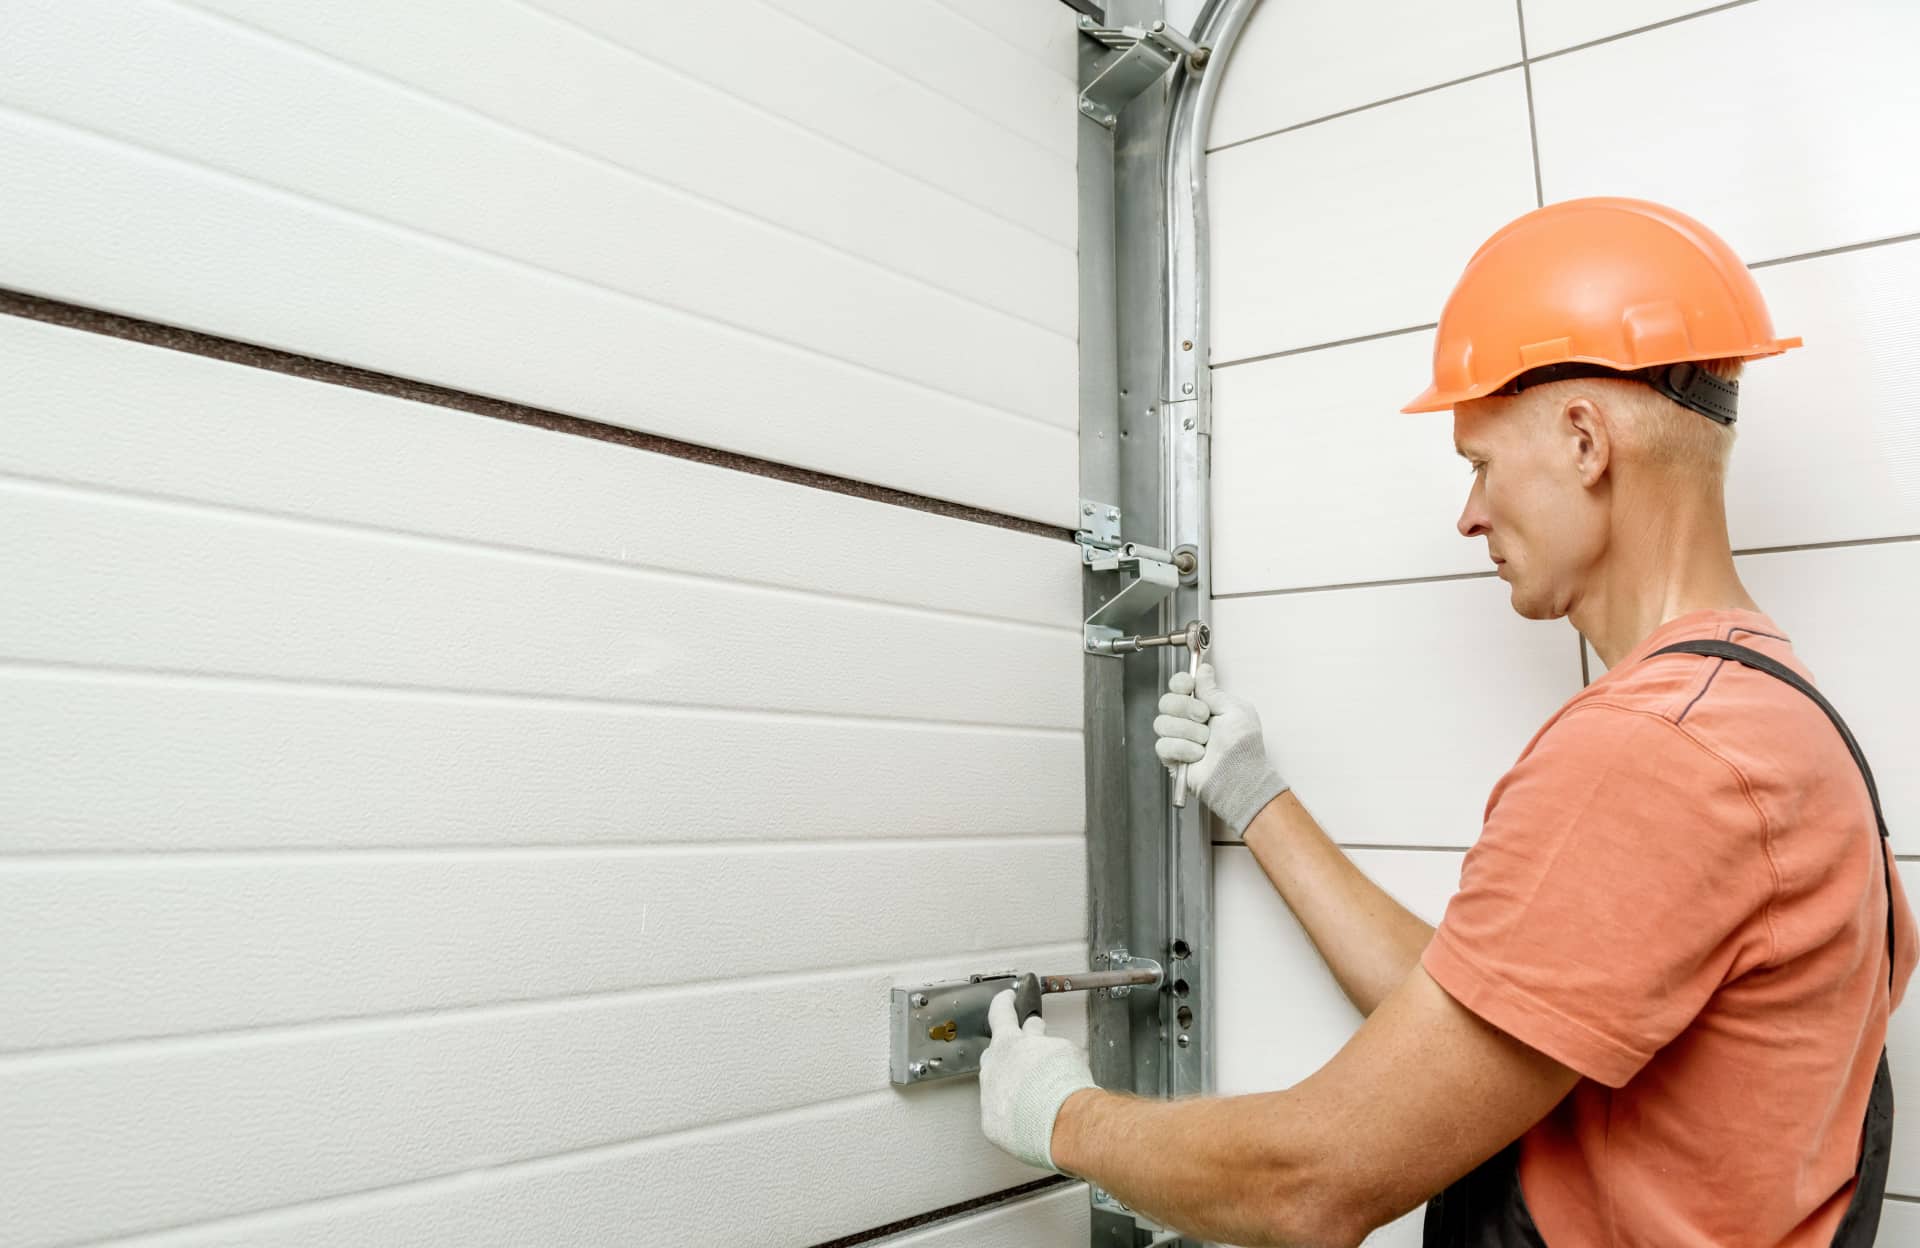
Vertical tracks mount to the framing on each side of the opening first, followed by the curved and horizontal tracks that guide the door as it travels overhead. Rollers seated in the panel brackets need to sit inside the track cleanly, since a roller that binds against the track edge causes noise and premature wear.
Commercial garage doors often use heavier gauge tracks and larger rollers to handle bigger door sizes and higher cycle counts, which is one reason commercial installations typically take longer than a standard residential job.
Why Is Spring Tensioning the Most Dangerous Step?
Torsion springs store enormous mechanical energy once wound to the correct tension for the door’s weight, and a slip during winding or an improperly rated spring can cause serious injury or property damage. This is the step most professional installers point to when explaining why a full installation is not a simple weekend project for most homeowners.
Once tension is set correctly, the door should stay balanced at any point along the track without drifting up or down on its own, which our technicians confirm before connecting a garage opener or handing the project off as complete.
Should You Install a Garage Door Yourself or Hire a Professional?
A DIY installation can work for a straightforward panel swap or hardware upgrade on an experienced homeowner’s project list, but a full door replacement involving spring removal and tensioning carries real safety risk and often takes longer than expected without the right tools. Manufacturer warranties on some doors also require professional installation to stay valid.
Homeowners weighing a full garage door replacement against ongoing repairs to an aging door should factor in installation safety and warranty requirements alongside the upfront cost difference. Booking a professional installation quote first gives a clear cost baseline before committing to a DIY approach.
DIY vs. Professional Installation Compared
|
Installation Approach |
Typical Time |
Safety Risk |
Warranty Impact |
|
DIY Installation |
1 to 2 days for an experienced homeowner |
High, especially during spring tensioning |
May void manufacturer warranty on some doors |
|
Professional Installation |
Same day for most residential doors |
Low, handled by trained technicians |
Typically preserves both manufacturer and installation warranty |
Deciding How to Approach Your Garage Door Installation
Putting in a garage door is a manageable project when the opening is measured correctly, the panels go up level and plumb, and spring tension is set with the right tools and experience. The step that trips up most DIY installations is spring tensioning, which is also the step with the highest safety risk if something goes wrong.
Mississauga properties and homes throughout the GTA considering a new installation should weigh the time, tools, and safety tradeoffs against the same-day turnaround a professional crew typically provides.
Oakville homeowners scheduling a same-season replacement should also confirm opener compatibility in advance, since older openers do not always pair correctly with a new door’s weight and balance.
Frequently Asked Questions
1. How long does it take to install a garage door?
A standard single-car garage door installation typically takes six to ten hours for an experienced two-person team, while a double-wide door or a garage needing framing repairs takes longer. Professional crews often complete a standard residential installation in a single visit.
2. Can I install a garage door myself?
Installing a garage door yourself is possible for a straightforward project, but the process involves heavy panels and high-tension springs that carry real injury risk if handled incorrectly. Many manufacturers also require professional installation to keep the warranty valid, which is worth checking before starting a DIY project.
3. What tools do you need to install a garage door?
A typical garage door installation requires a drill, level, socket and ratchet set, adjustable wrench, winding bars for torsion springs, and safety gear including gloves and eye protection. Most DIY kits list the exact tools needed for that specific door model.
4. Why is spring tensioning considered dangerous?
Torsion springs store significant mechanical energy once wound to the tension required for a door’s weight, and a slip or improperly rated spring during this step can cause serious injury or property damage. This is the primary reason most guides recommend leaving spring work to a trained technician.
5. Does DIY installation void the garage door warranty?
Some manufacturers require professional installation to keep the manufacturer warranty valid, so a DIY installation can void coverage on certain doors even if the work is done correctly. Checking the specific warranty terms before starting a DIY installation avoids losing coverage unexpectedly.
6. What is the first step in installing a garage door?
The first step in installing a garage door is measuring the opening’s width and height accurately, since the door and hardware must match the opening for the rest of the installation to go smoothly. Confirming the framing is level and square comes next, before any panels or tracks go in.
Book a Professional Installation With Legacy Garage Doors
For a safe, warranty-preserving installation anywhere in Toronto or the GTA, Reach our service team to schedule a measurement and quote before ordering a new door.
Key Takeaways
- Installing a garage door involves preparing the opening, assembling panels, mounting tracks, setting spring tension, and connecting an opener.
- A standard single-car door installation typically takes six to ten hours for an experienced two-person team.
- Spring tensioning carries the highest safety risk in the entire process and is best left to a trained technician.
- Panels are assembled from the bottom up, checking that each section sits level and plumb before adding the next.
- Some manufacturer warranties require professional installation to remain valid, which affects the DIY versus professional decision.
- Professional installation typically preserves both manufacturer and installation warranty coverage compared to a DIY project.